

I bought Return to Dark Tower and all the expansions and accessories as a bundle at PAX Unplugged from Restoration Games. The among other things, the accessories contained high quality plastic tokens to replace the cardboard tokens. Unfortunately, whether using plastic or cardboard tokens, I needed a place to keep them during the game.
Simple solution, I can 3d print gaming trays to hold the tokens. I was a bit rushed because I was getting together with a bunch of gaming friends for the holidays and wanted to have prototypes to test with them and get feedback.
First Prototype
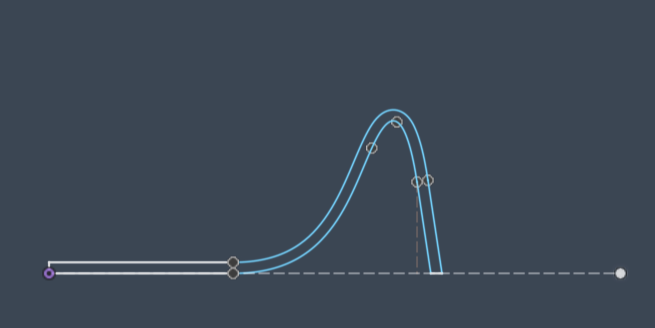
I had been wanting to play around with splines, so I started with a sketch that resembled what I imagined the tray should look like revolved around a central axis.
This design worked. The trays were very sturdy, but they had one big downside – they didn’t stack well. With two stacked on top of each other, the height of both was a little less than two times the height of one. When putting away games, you know space can be limited. In my Return to Dark Tower box, with all the cards in sleeves, the extra tokens, etc. I was space constrained since I need several of these to go around.
Second Prototype
I determined that part of the reason the trays didn’t stack well was because of the wall thickness of 1.2 mm (3 nozzle widths). On my next attempt, I drew a single line profile and used the surface commands to resolve that around the central axis to form the shape of the tray. I then used the thicken command to make it into a solid body with a thickness of 0.8mm (2 nozzle widths). I wasn’t sure if this was going to be thick enough to survive life in a game box, but there is a very easy way to tell that isn’t doing a finite element analysis (FEA) on the part. Print it and test it.
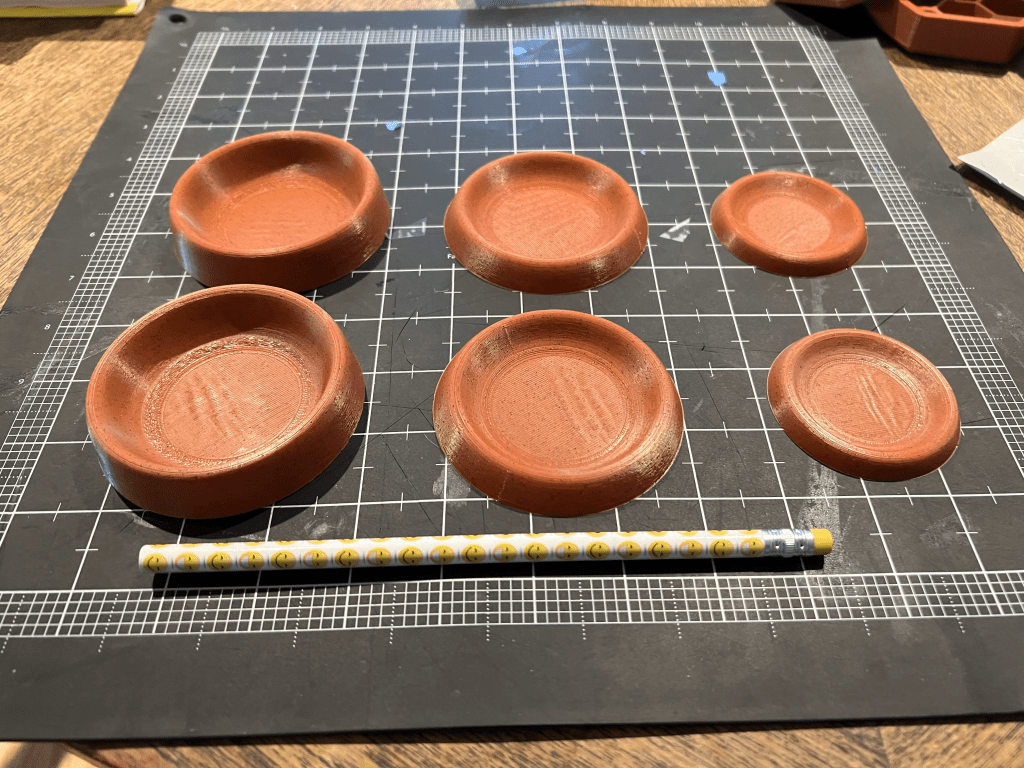
I printed the tray in two different sizes and lowered the height some as well. In the end, the lower height turned out to be something I would reverse down the road. The 0.8 mm wall thickness proved to be sufficient when printed in PLA for normal game wear and tear. I’m not sure how they would survive a drop test.
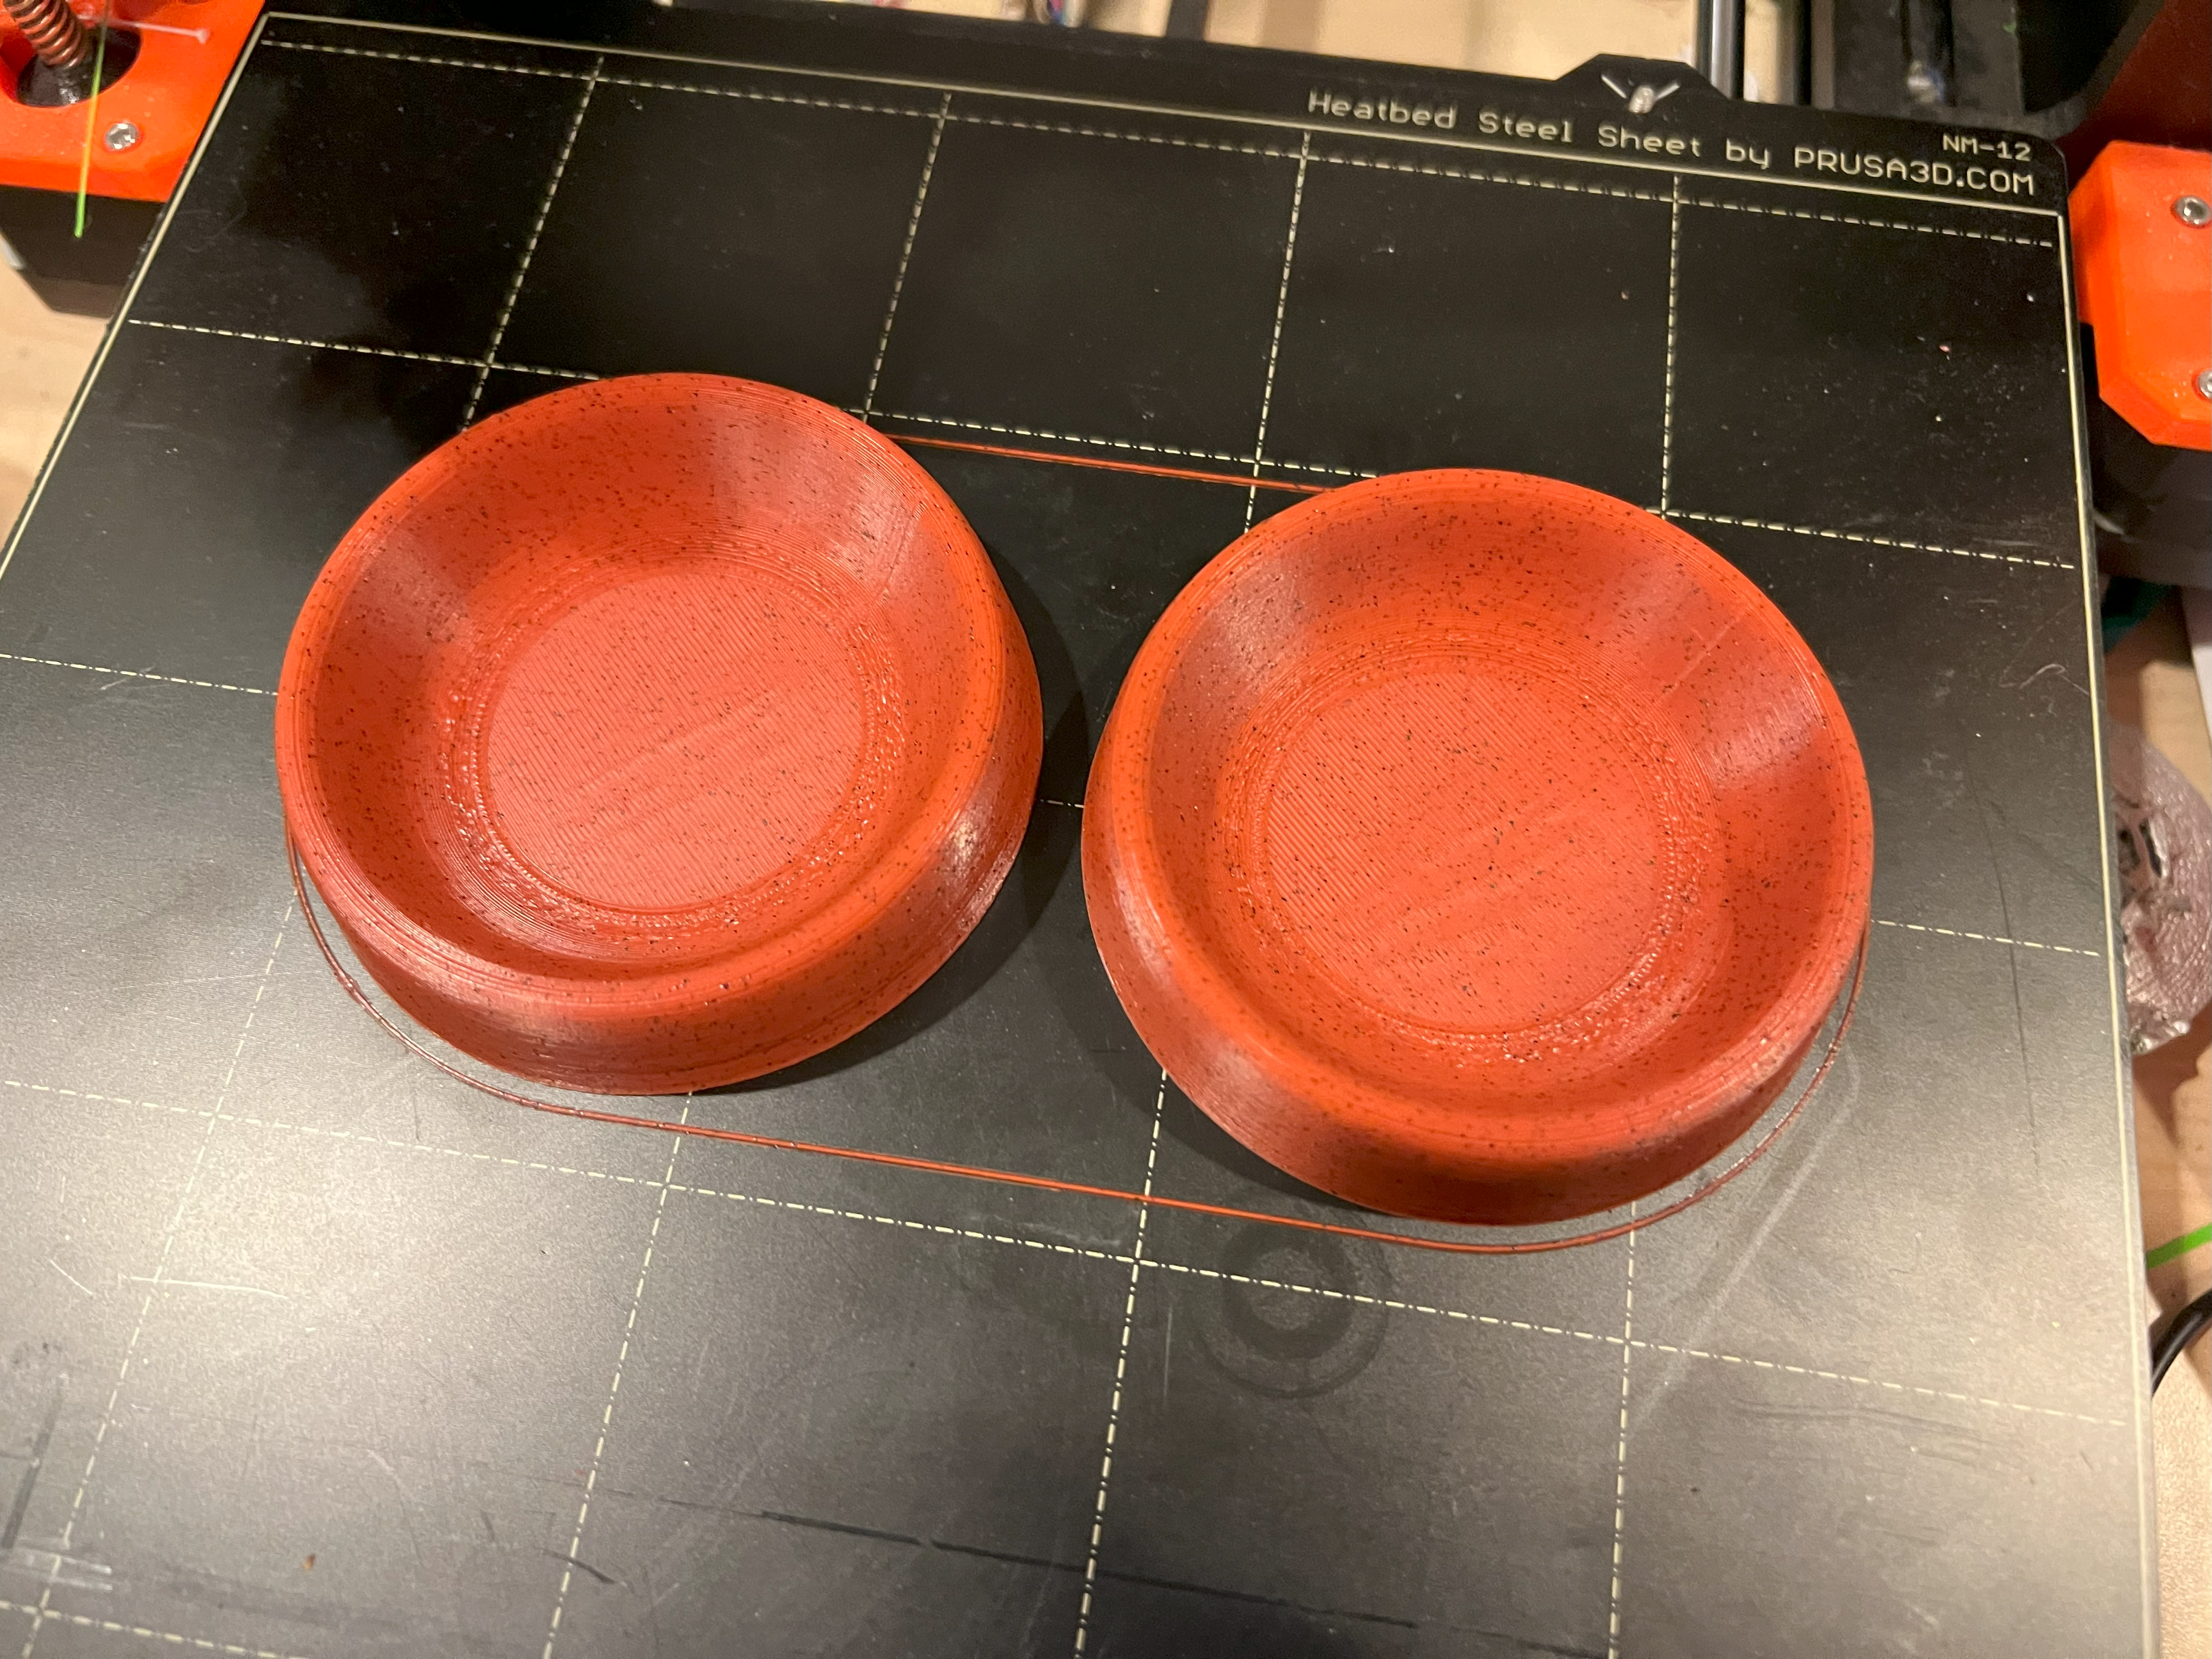
This photo shows the improvement in stackability from our initial prototype to version 2.

Notice that you can probably stack 5-6 of the version 2 before you reach double the height of the tray itself.
I took the prototypes with me, showed my friends, got feedback from them and used them in several games of Return to Dark Tower. The feedback was in general positive, no one disliked them. They did find the second set more usable, but too shallow. Also, I needed more to distribute with tokens around the table so a stash would be in reach of every player. I shared the design at Printables dot com and several months later, got some suggestions from folks in one of the gaming groups online – make them hexagonal for nesting and make a version divided into two sections.
Third Prototype
I tried to evolve the current design to add in the divider and got some interesting, but not useful results.
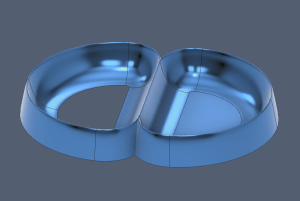
Here I tried dividing the circle in half and using the sweep tool followed by a mirroring. I did not want the figure eight result and so I tried a few more unsuccessful attempts before switching to what seemed like a simpler problem of making the hexagonal shape.
I made a simple hexagon with rounded corners path and tried the profile and surface approach I had used before with sweep. It didn’t work, and by that I mean Fusion 360 would throw errors and not complete the command. I eventually figured out that the resulting surface of the sweep command cannot have overlapping sections. I had been using profiles with the base already drawn and at the rounded corners that portion of the inner surface would take up the same space and the previous section – thus the errors.
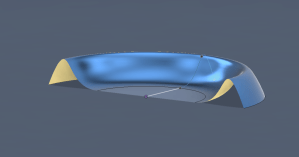
I eventually was able to get the hexagonal surface minus a base created by making the inner most point on the profile the part that followed the path.
I eventually was able to get the hexagonal surface minus a base created by making the inner most point on the profile the part that followed the path. filling the base of the surface was easy with the patch tool. You’ll notice in the image on the right that the outer wall goes much further down than the inner wall.
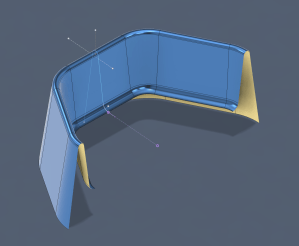
The reason I do this is so that after the thicken command, I can cut using the base plane and end up with perfectly flat base for printing because it only has those two nozzle thicknesses to adhere to the build tray for the outside wall.
After trying to add the divider using the sweep command and not succeeding, I ended up scraping the surface model approach and instead attempted to extrude a solid from a base sketch and then use the shell command to hollow it out to the desired thickness.
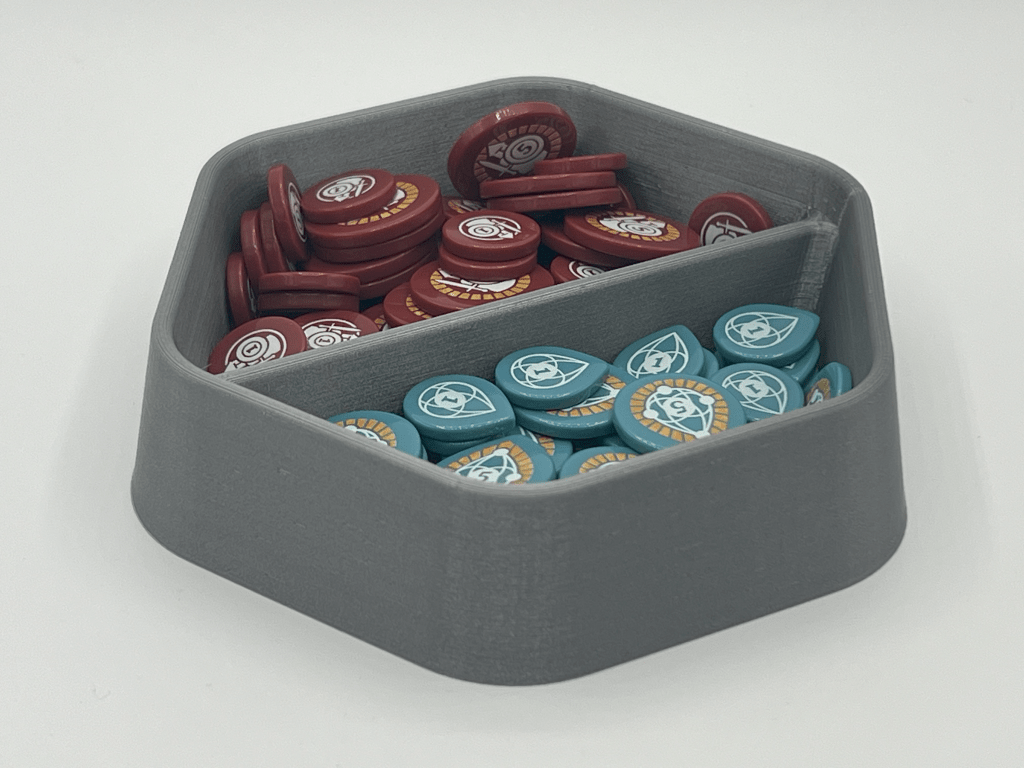
I used the taper angle on the extrude command to give me the shape I wanted and able to very quickly replicate the hexagonal single compartment tray. Next, I added the divider using the same sketch, extrude with taper command.


I made the model mostly parametric, meaning you can change the overall size, the angles, the height of the outside and the height of the divider. The fillets values were still hard coded sizes and depending on how you change the parameters in relation to each other some weird things can happen that require the fillets to be redone.

Here is how the model came out. Tell me what you think of it and what you would change if you could.
What do you think?
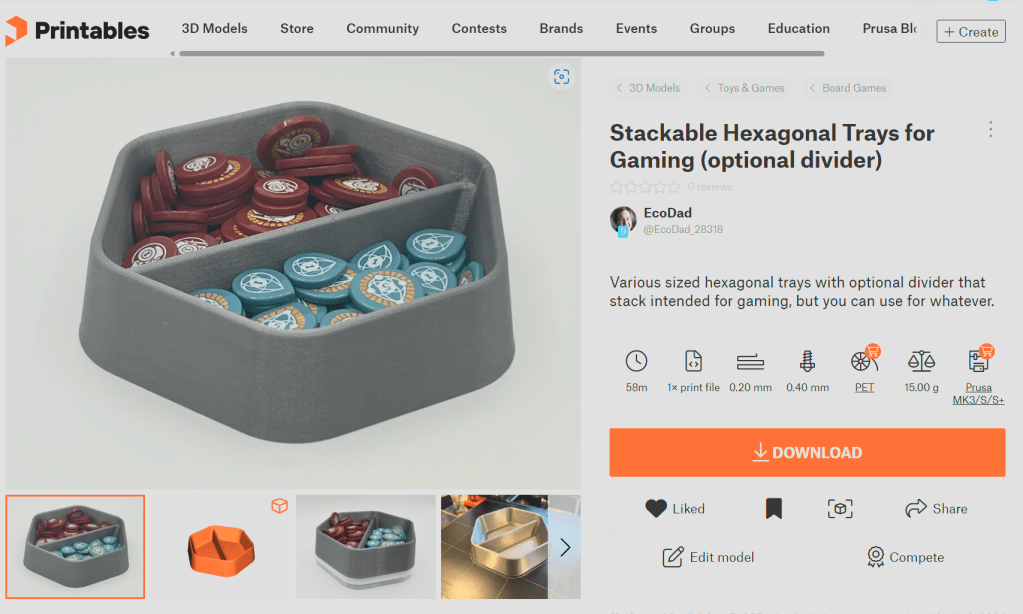
You can download several sizes of the gaming trays with and without dividers and the Fusion 360 CAD file to create your own custom sized trays from my Printables page.
If you are looking for a solid filament 3d printer, I highly recommend the Original Prusa MK4 3D Printer.1
- If you purchase a printer from Prusa using my link, I will receive Prusameters that I can use to earn rewards. If you have a Printables account, you will also get some Prusameters. I also get rewards when enough people like and download my 3d models from Printables dot com. ↩︎

Leave a comment