
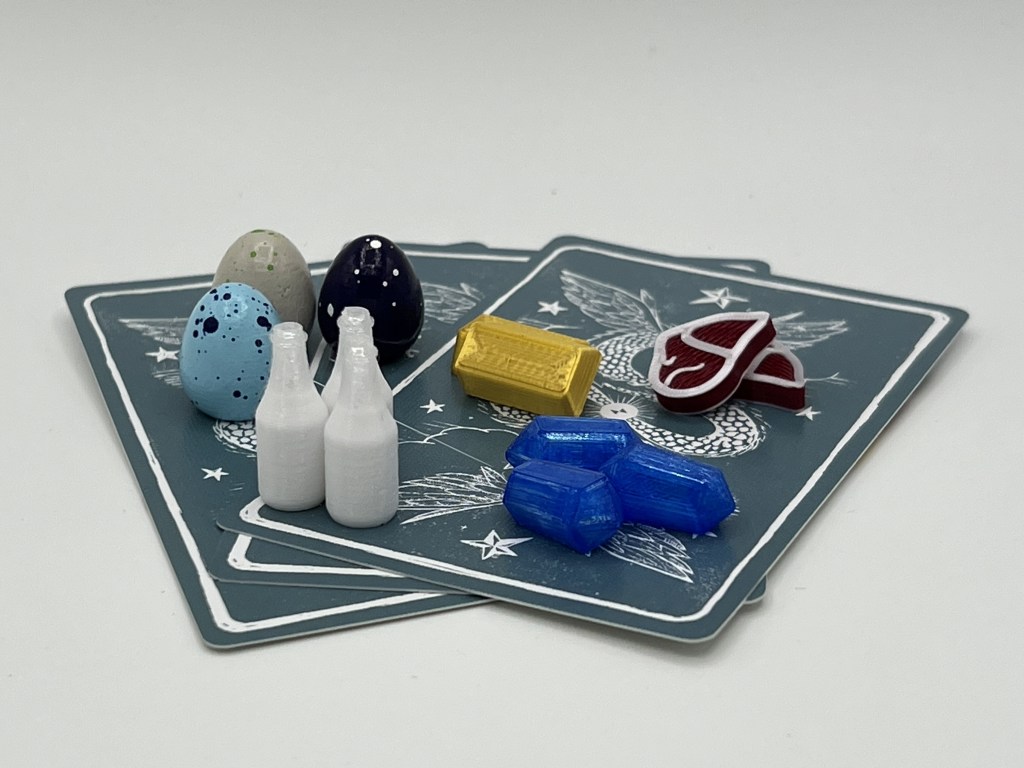
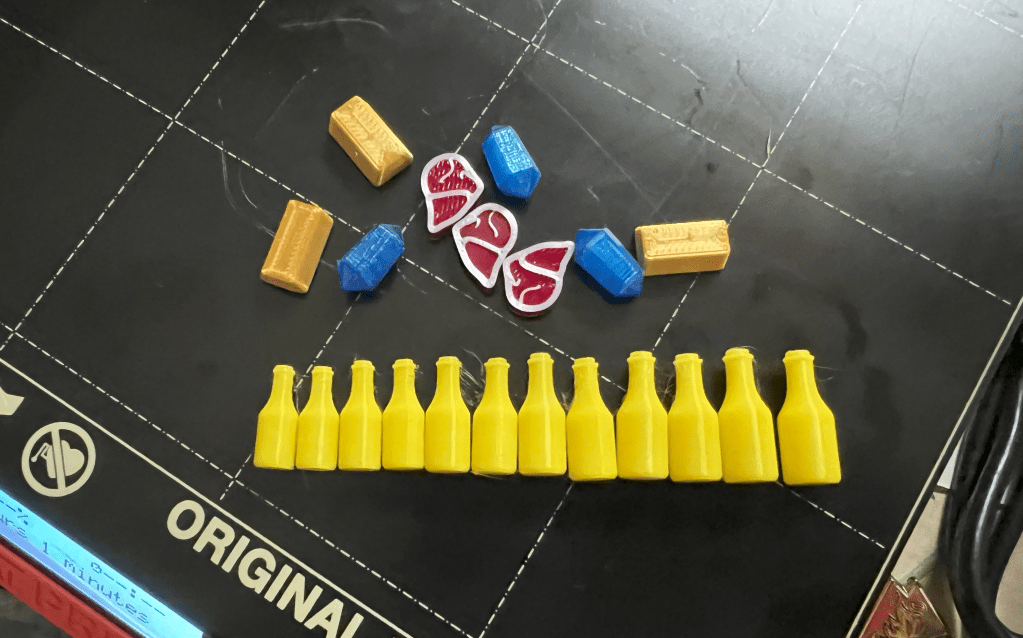
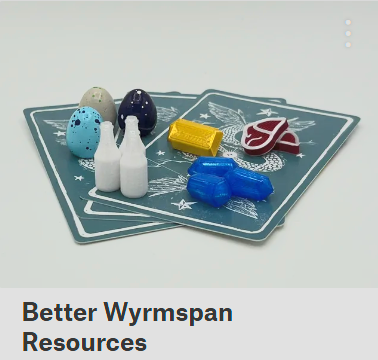
While attending PAX East 2024 in Boston, I play tested Wyrmspan from Stonemaier Games and fell in love. The game is based off of Wingspan, but different enough to stand on its own and built around dragons. Stonemaier sells an upgrade that includes metal coins and wooden replacements for a number of the cardboard tokens. I wasn’t thrilled with the upgrade package, and decided to try to do better with my 3d printer. Here are the results and below I go through the design process for each resource type.
While I waited for my preorder of Wyrmspan to arrive, I got to work designing new resource tokens.
- Creating the meat
- Creating the gold
- Creating the milk bottle
- Creating the crystal
- Conclusions and testing
Link to download the 3d printable resources: https://www.printables.com/model/821286-better-wyrmspan-resources
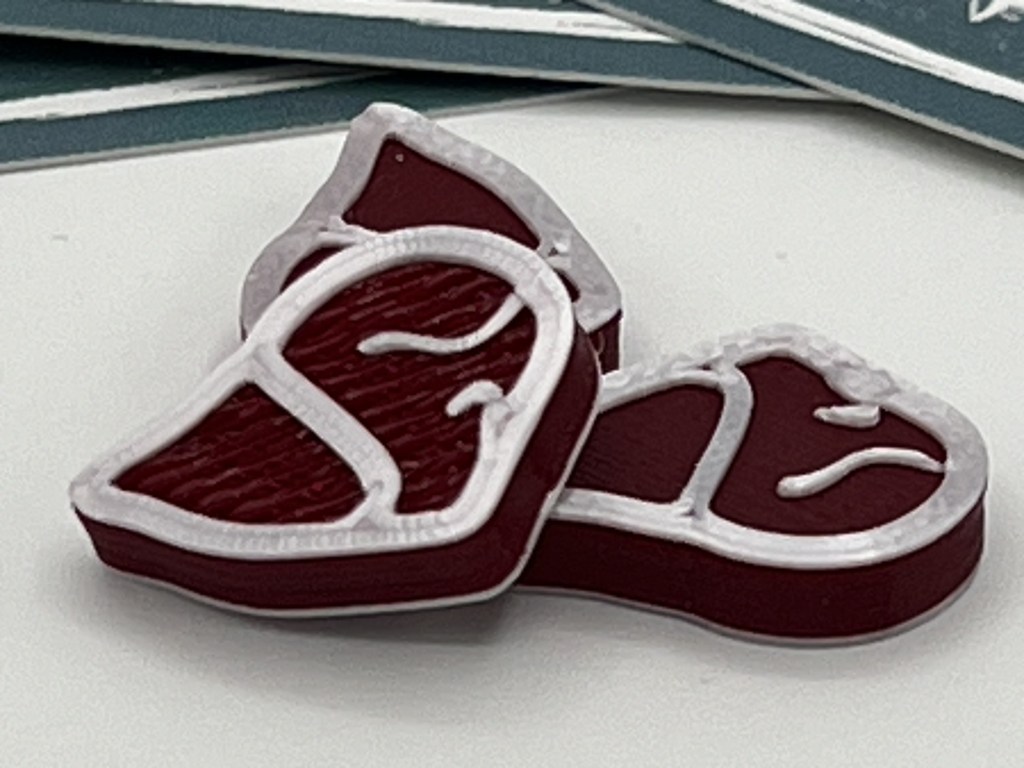
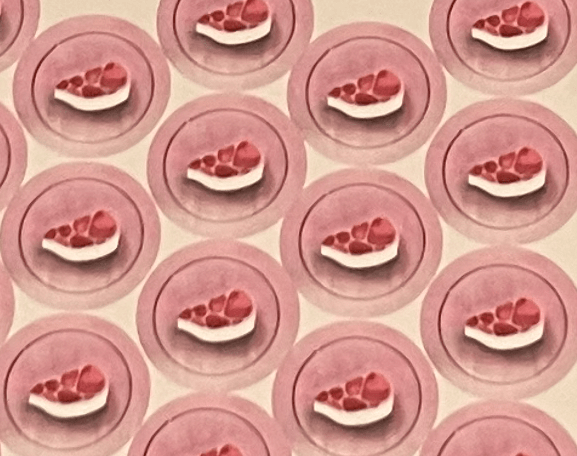
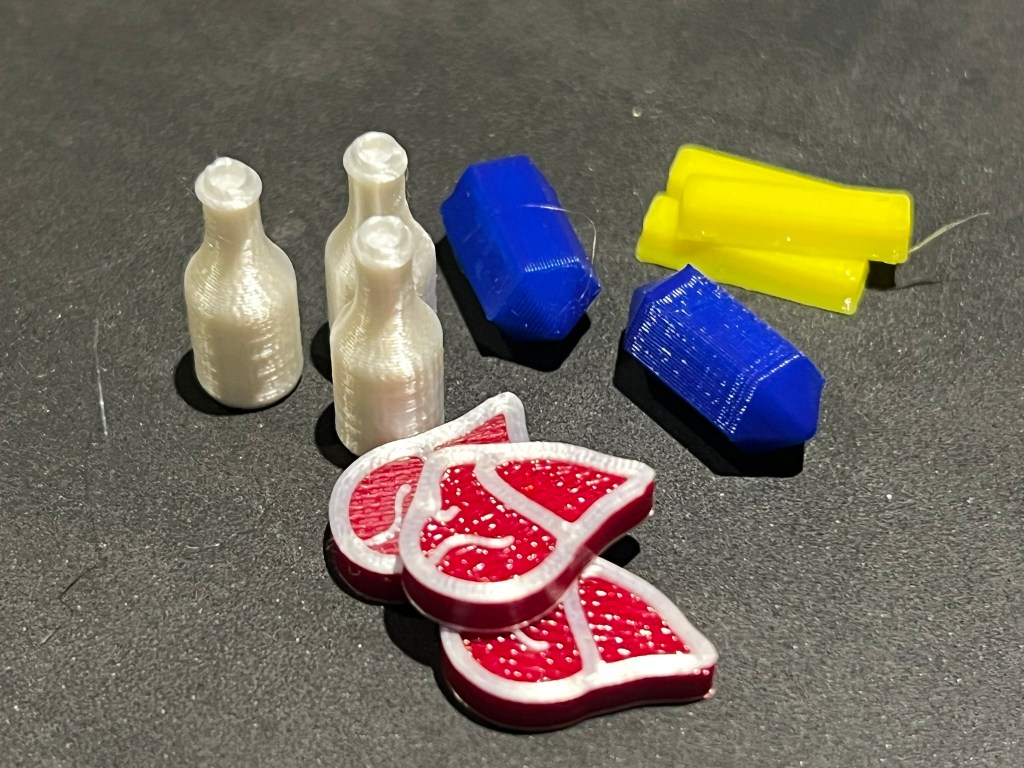
Creating the meat
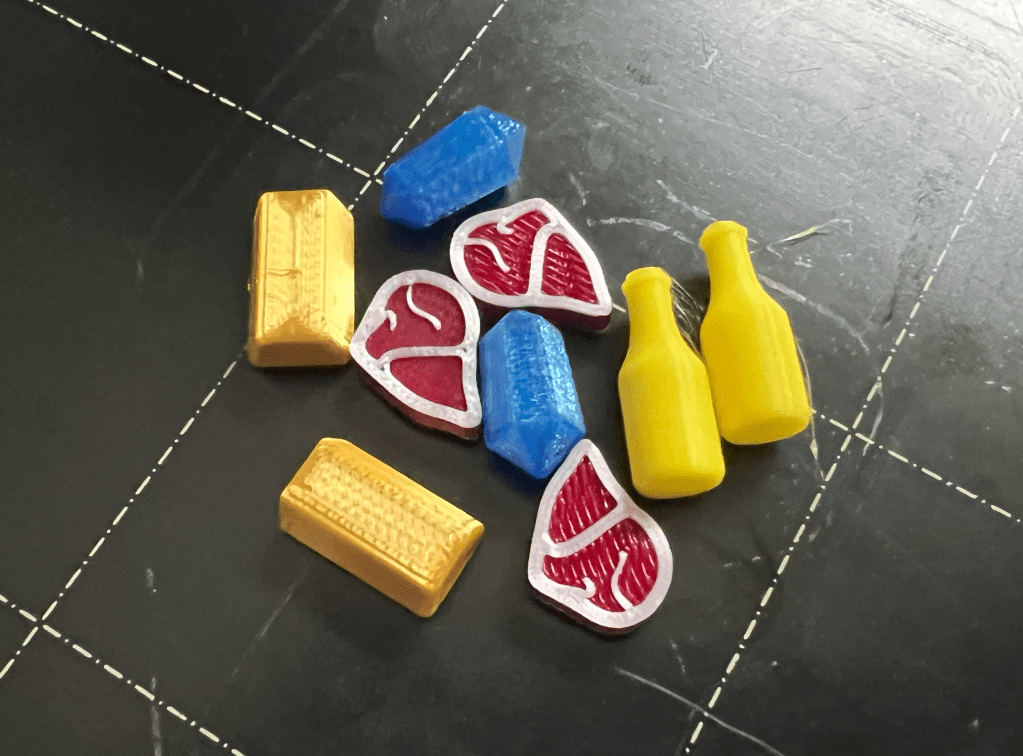
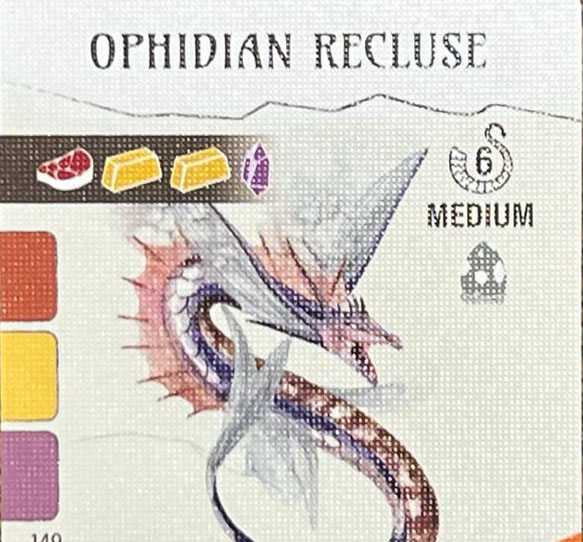
The meat resource token looks like a steak with marbling.
I have access to single color filament printers, mainly Prusa i3 MK3S+, and remembered that I could pause the print and change the color of filament to get multi-color effects with my printers. When I first started 3d printing a decade ago, you had to manually edit the .gcode file to insert a pause (or manually pause the print on the right layer), then change the filament and resume the print. Now with PrusaSlicer you can easily insert a color change while slicing the 3d model and the printer will alert you and step you through changing the filament.
To get a rough shape for the steak, I prompted AI in Adobe Illustrator to generate an image in red and white of a steak with marbling. I picked the one I liked and traced the image. This gave me a vector image file that was able to cleanup in order have the outline and marbling to be multiples of my printer nozzle diameter (0.4 mm).
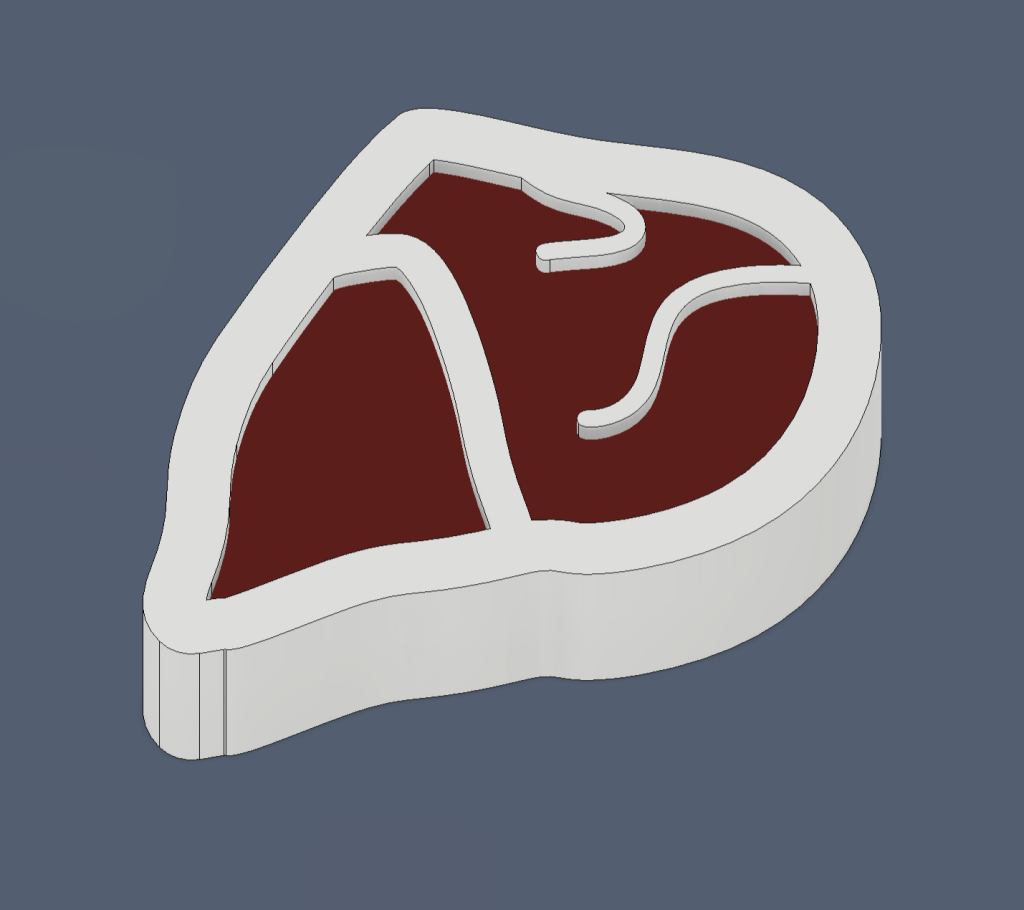
Next, I imported the vector file into Autodesk Fusion 360 and used extrude commands to form the 3d model that had the white marbling width a multitude of the nozzle diameter and the height of the planned layer height (0.2 mm). I Saved As Mesh to create the .stl file and sliced it with PrusaSlicer, adding in a color change after layer 2 and after n-2.
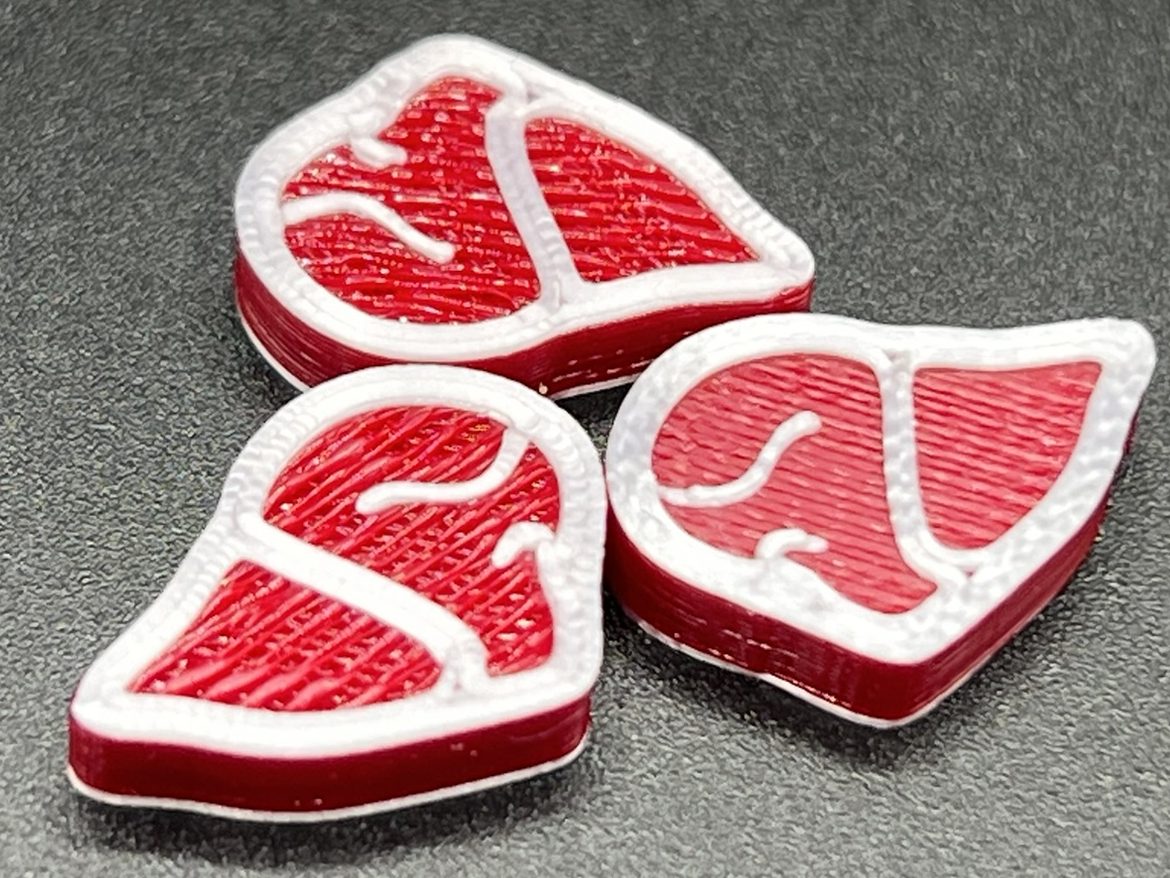
The first prints came out remarkable well. The small ridges between passes of the extruder even give the steak a muscle fiber appearance. I like the shape of my meat resources better than the original image on the token and other 3d models I’ve seen available. Of course that’s just my opinion.
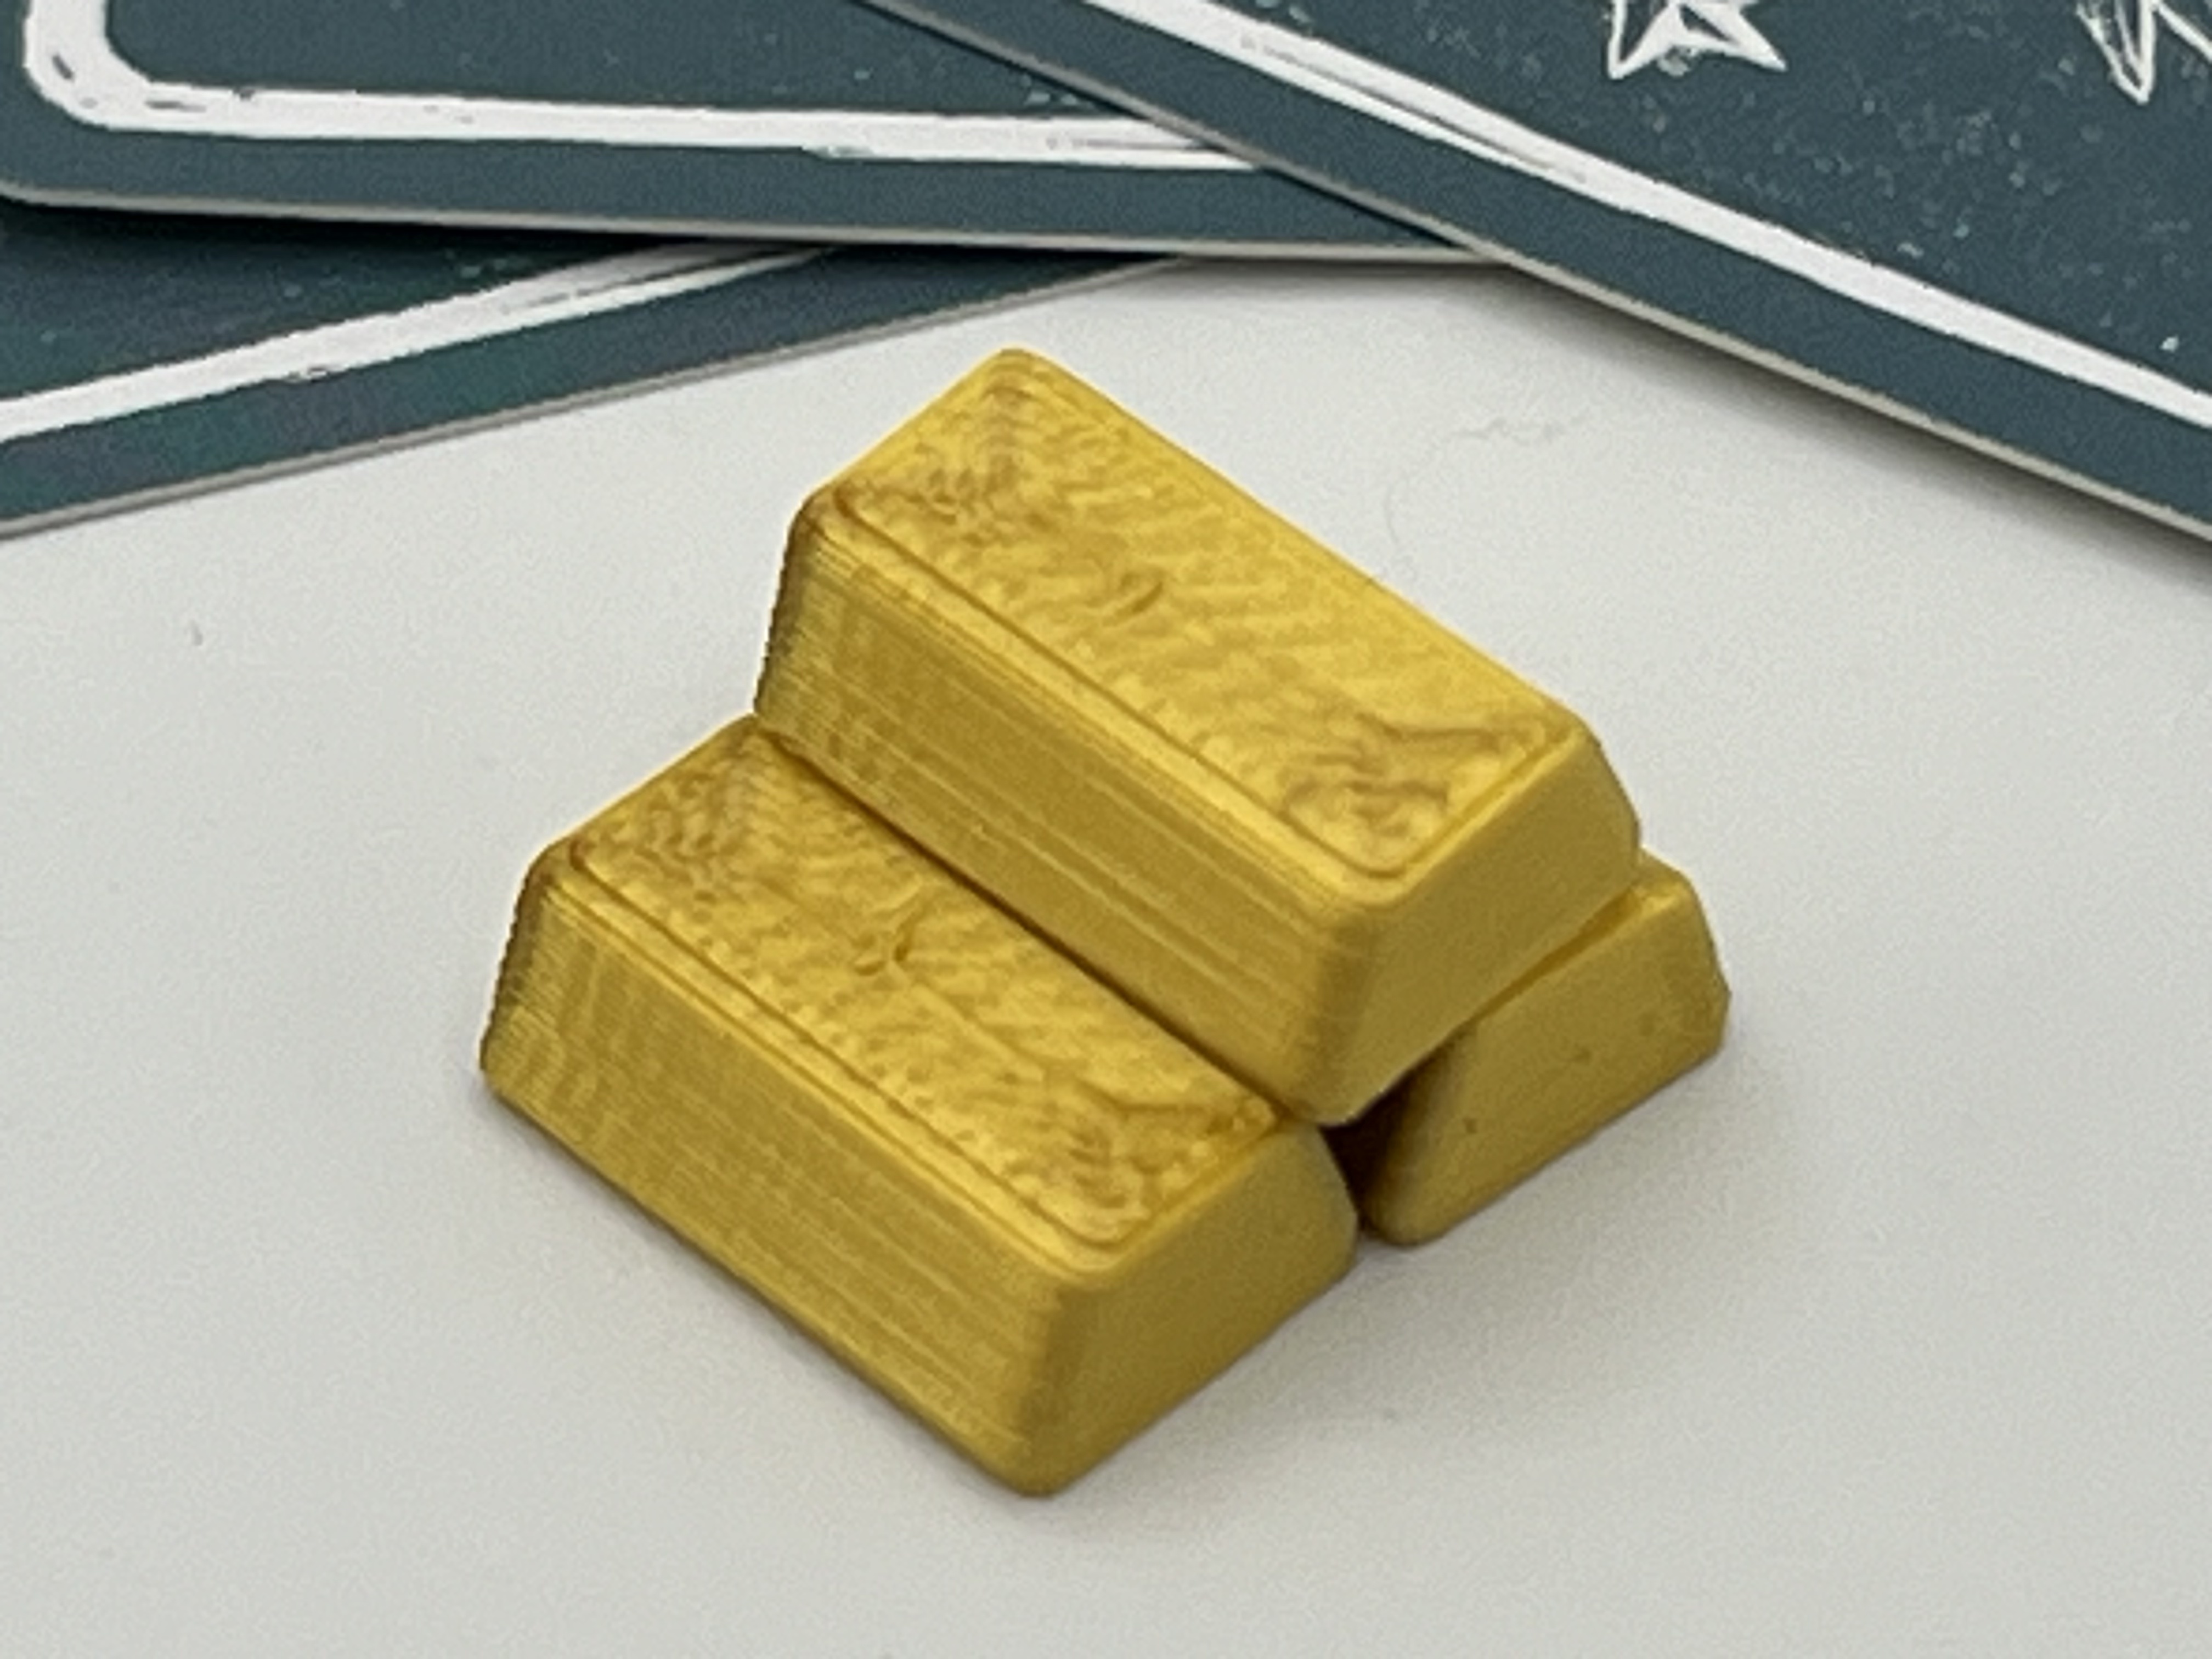
Creating the gold
To create the gold bars, I started sketching directly in Autodesk Fusion 360 by drawing a trapezoid and extruding it to what I thought was an appropriate size. I added filets to the edges and saved the .stl mesh to print.

The model looked good in CAD, so I printed a few in the closest color I had to gold, which was yellow PLA at the time.
When I had the gold bar together with the other resources, I did not like their size or the shape. It is important to consider the functionality, aesthetics and scale in relation to your goal.

The gold bars were too narrow and long compared to the other resources. Also, they were hard to manage because of their size.
Since these are resources tokens in the game, you want them to be large enough to easily handle, but not so big you cannot have a few together. In Wyrmspan, you can cache resources on the dragon cards, so the model needed to be sized so that 6 or so resources could be placed on a single dragon card.
I edited the model in Fusion 360 to make them wider, higher and a little bit shorter. I also had ordered some gold PLA that arrived for the next prints.
I also consulted with my son and he agreed these were better proportioned.

As you design things for yourself and others, you should seek out input and feedback from other people. They may have an idea you didn’t consider and if you want something to be useful beyond your own use, you need to get customer review of the design.
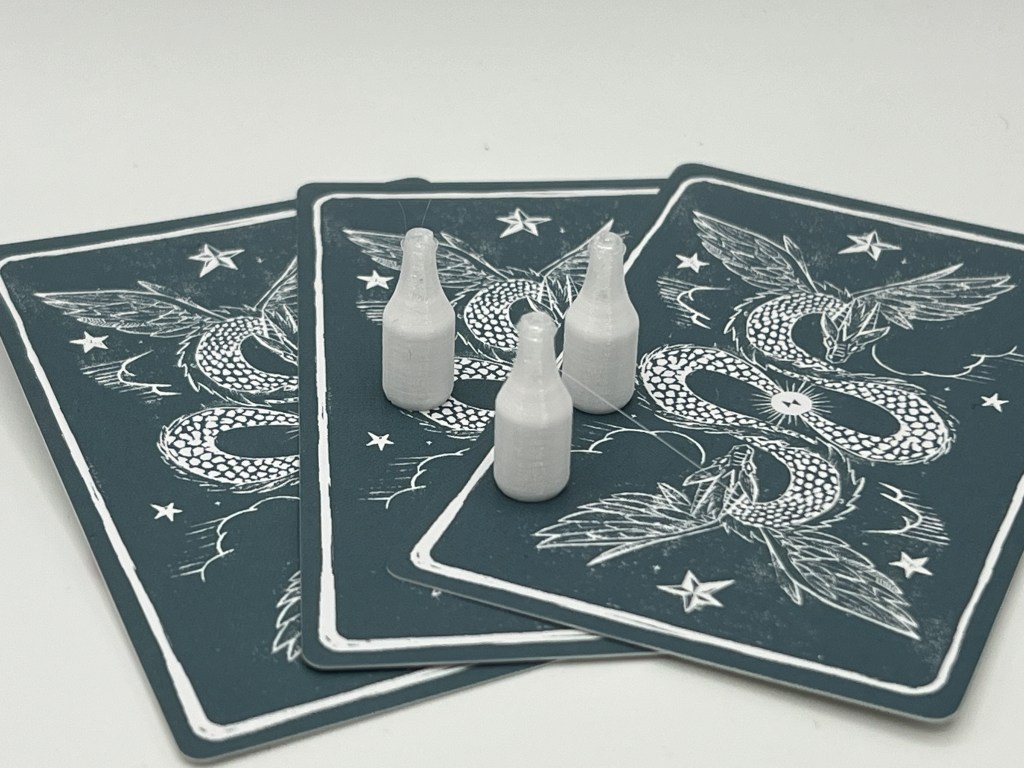
Creating the milk bottle
Another model that did not start out the right size was the milk bottle. I created the overall shape after looking at several images online of glass milk bottles using various diameter circles and the loft command in Fusion 360. I was very happy with the shape, but once I compared it with the other resources, it felt small. It also had some of the challenge of being a bit small to pickup easily.
Because it wasn’t obvious to me which size would fit with the others, I printed out a collection of scaled milk bottles in pairs increasing the scaling by 5% each time. I used the yellow filament instead of the white because I do not have a current need for yellow and to get the size correct, the color didn’t matter.
Stepping up model scaling by 5%
Again, I consulted with my son to get his opinion. He preferred the ones at 115% of the original size, while I preferred the bottles that were at 110%. In the end, I split the difference and the milk_v2.stl is resized in CAD to be 112.5% the original size.
One of the great things with 3d printing models is that you can easily scale them in the slicer, like I did for my test prints. If you want something twice as big, you can do that, so anyone using my models has control to adapt them to their size preference.
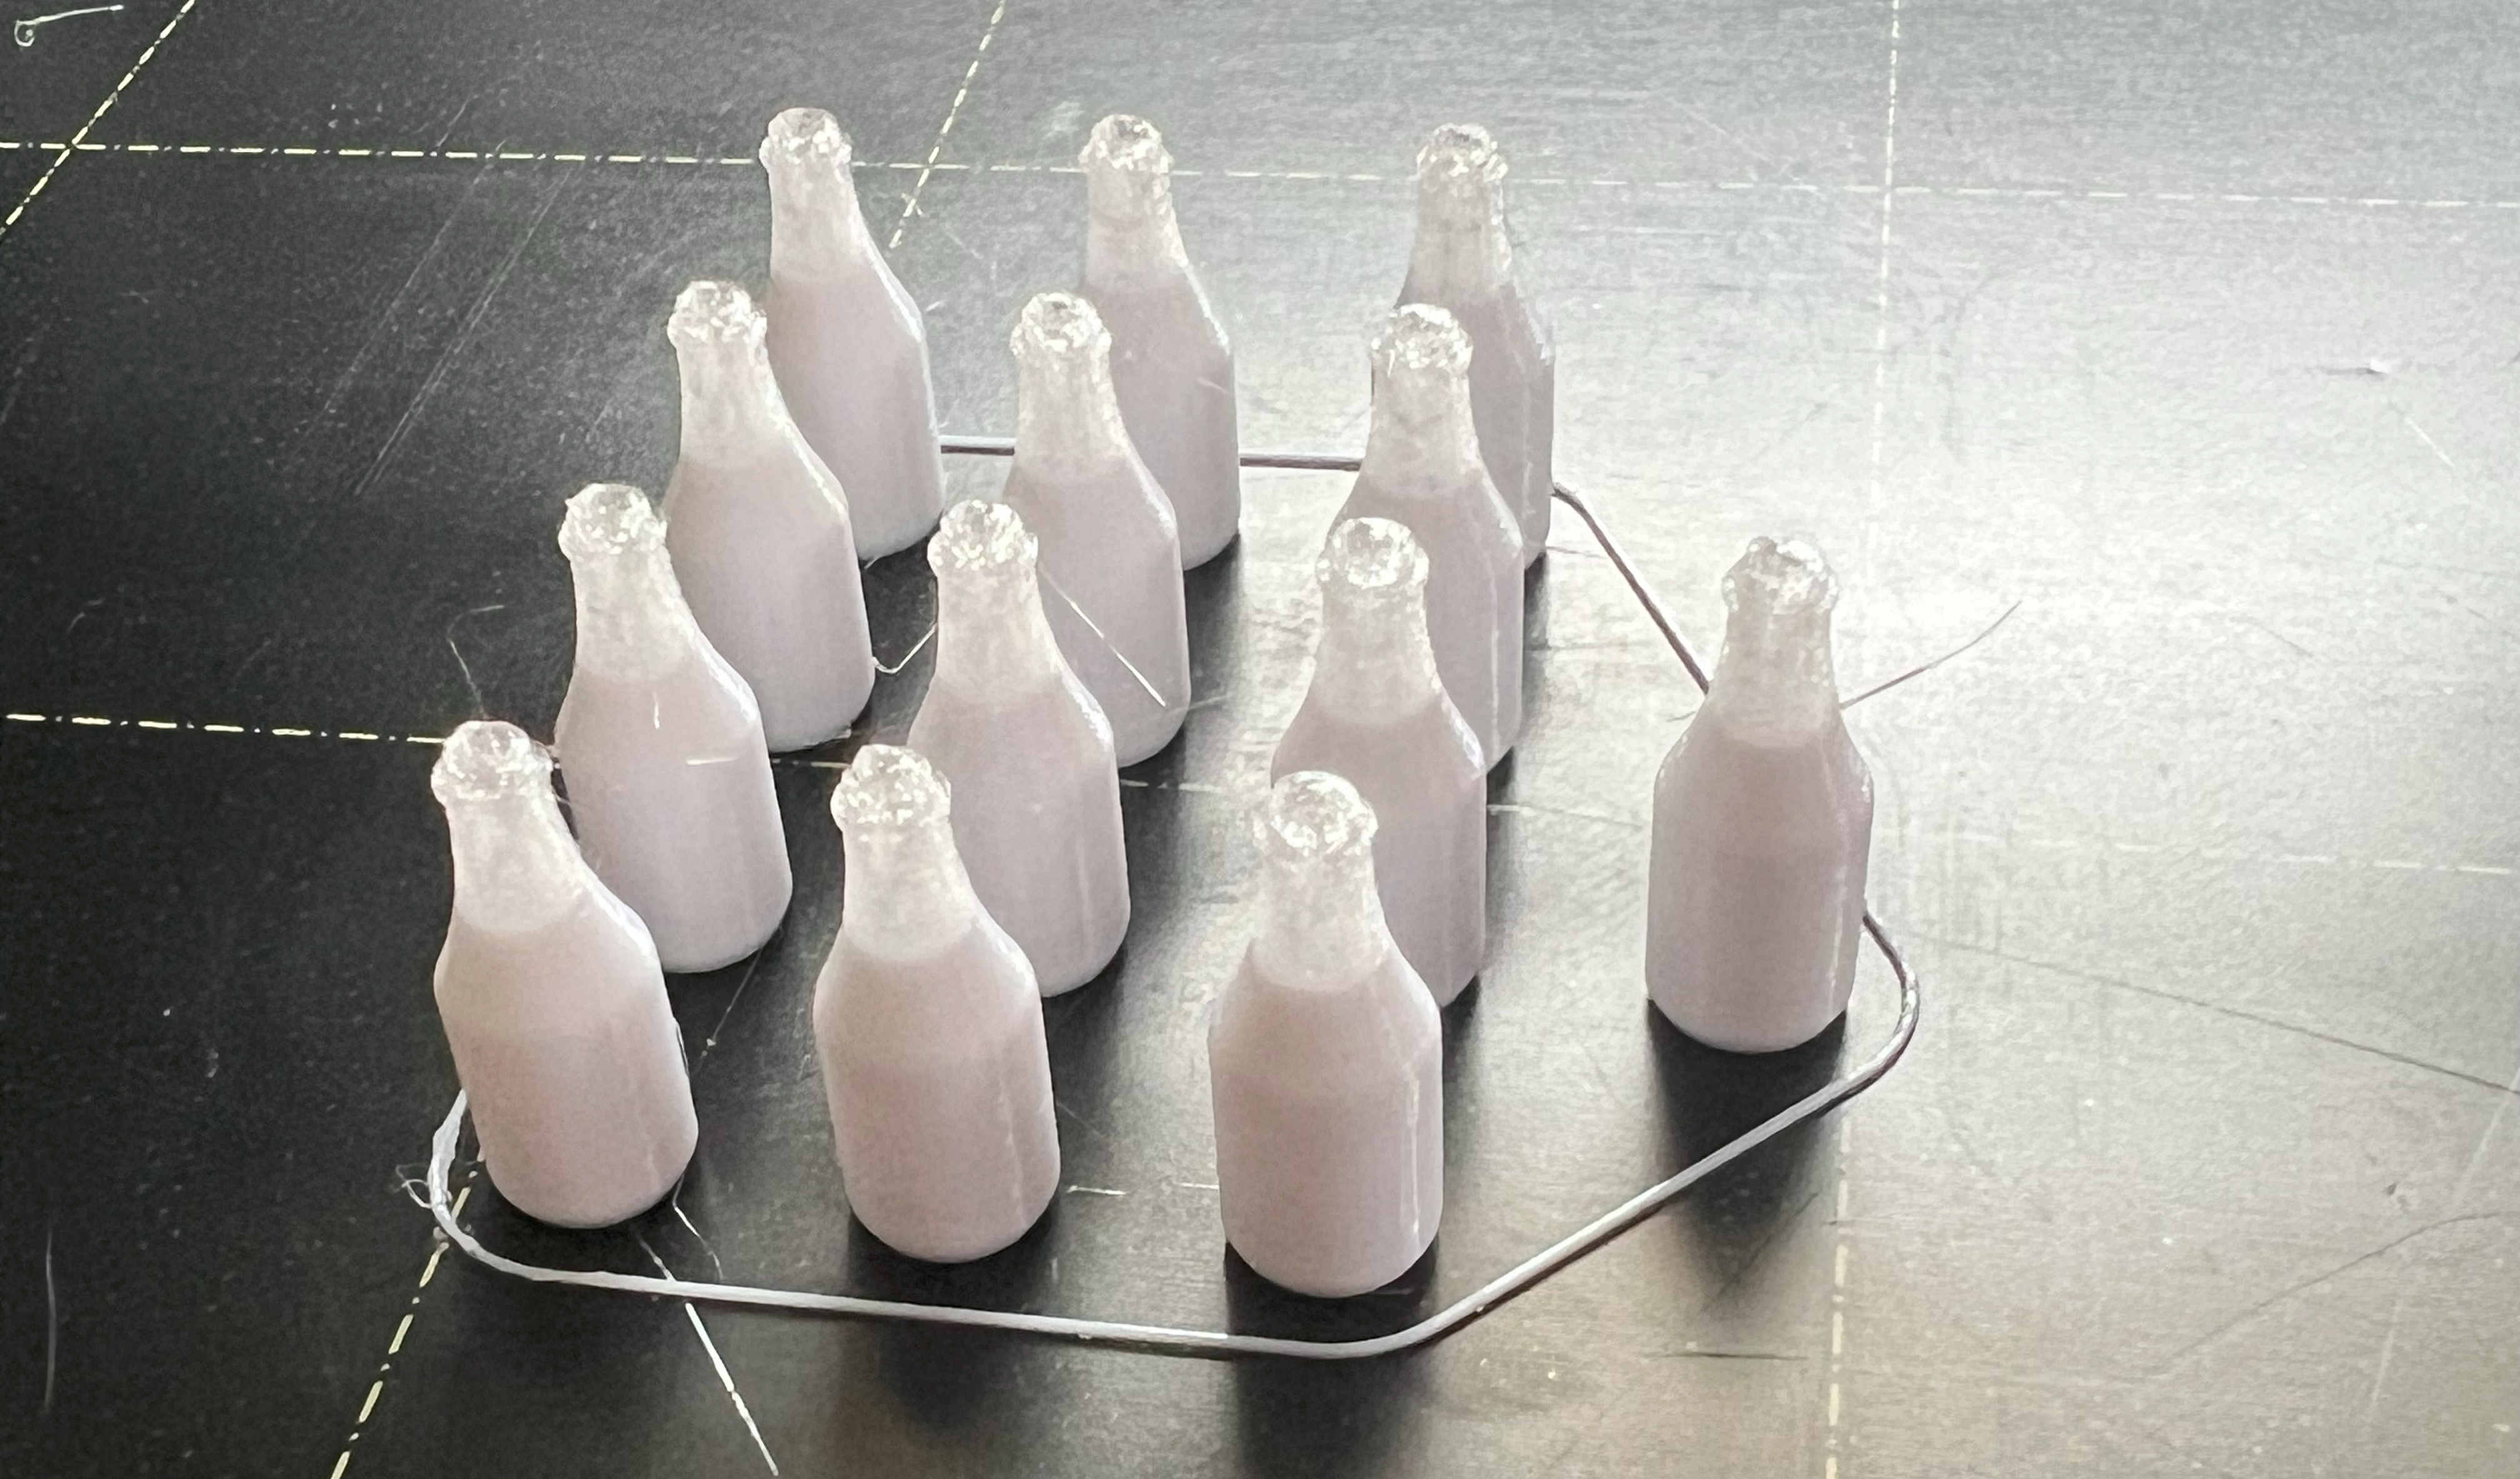
Other designers have created similar resource models for Wyrmspan already. One idea that was inspired by tstansell was to print the milk bottles in white and clear to make it appear that you could actually see the level of milk in the bottle. He prints a couple layers of clear and then different number of layers of white followed by clear at the top.
Other designers have created similar resource models for Wyrmspan already. One idea that was inspired by Todd Stansell, was to print the milk bottles in white and clear to make it appear that you could actually see the level of milk in the bottle. He prints a couple layers of clear and then different number of layers of white followed by clear at the top.
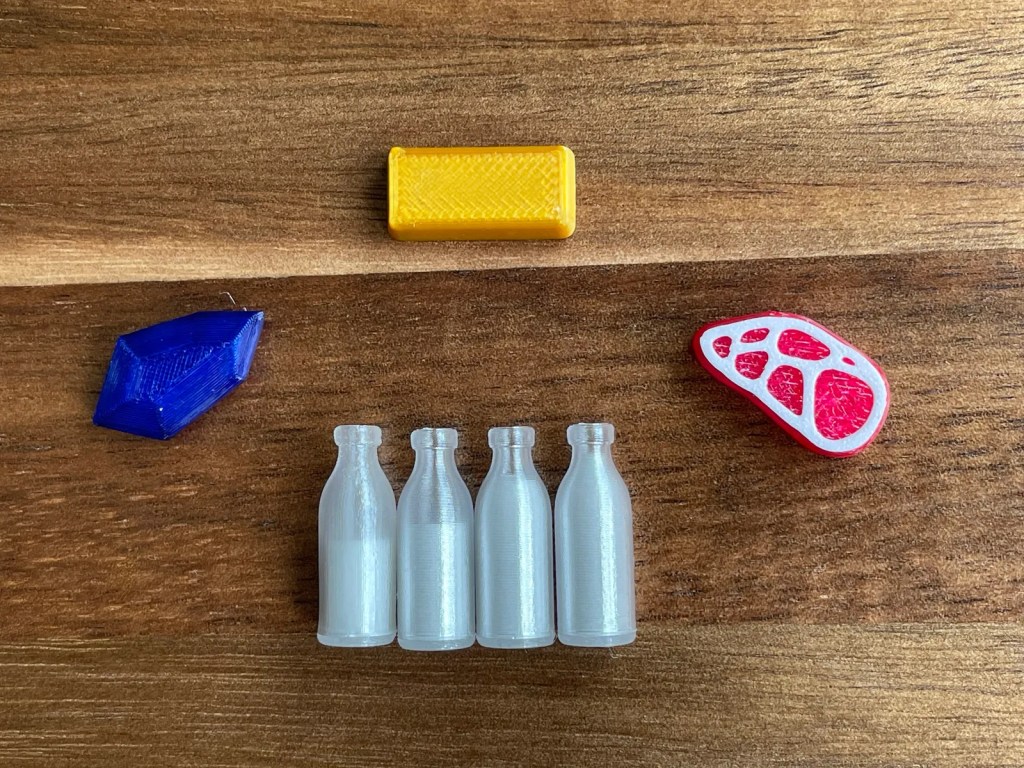
I am still trying to figure out if the first couple layers of translucent printing is worth the hassle of the color change. The change back from white to clear is totally worth it imho.
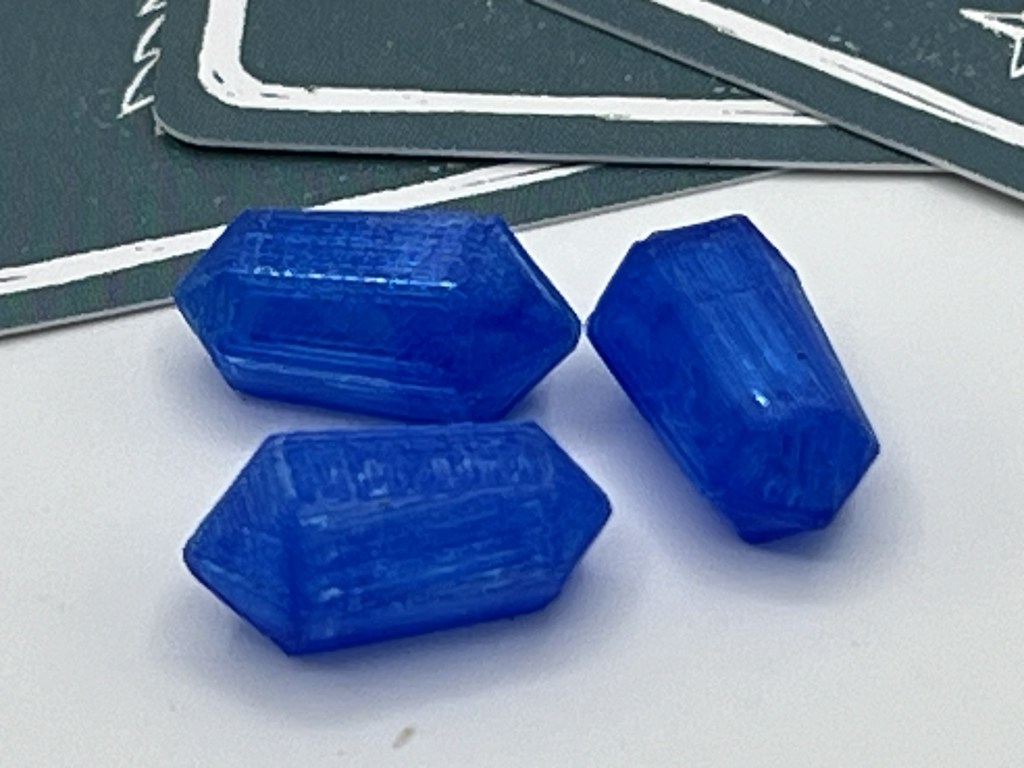
Creating the crystal
The final resource is crystal. I had a quartz crystal in mind when creating the model so started with a six sided extrusion. I made the ends pointy with chamfers to resemble the in-game tokens. I set the size similar the meat.
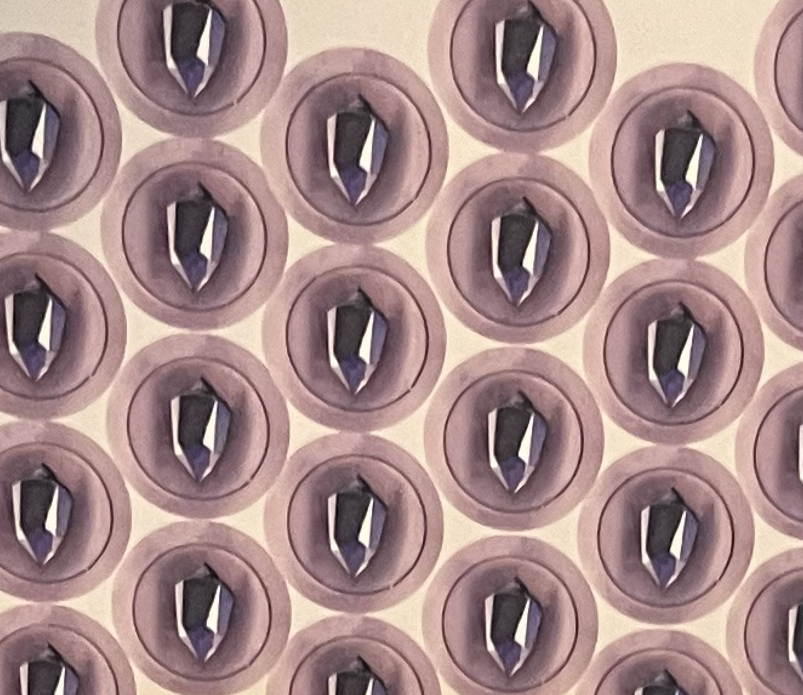
As you can see, the crystals are purple, but I took the design freedom to print mine in blue because it is my favorite color. One nice thing about 3d printing models is that you can choose the filament color you want, so the end users are enabled to make whatever color crystal they want. I do recommend using translucent filament if you can, to give that added similarity to crystal.
I actually printed the first prototype in solid blue because that is what I had available at the time. Then I tried a translucent light blue, which was ok. When the translucent blue I ordered especially for this arrive, I was much happier with the color.
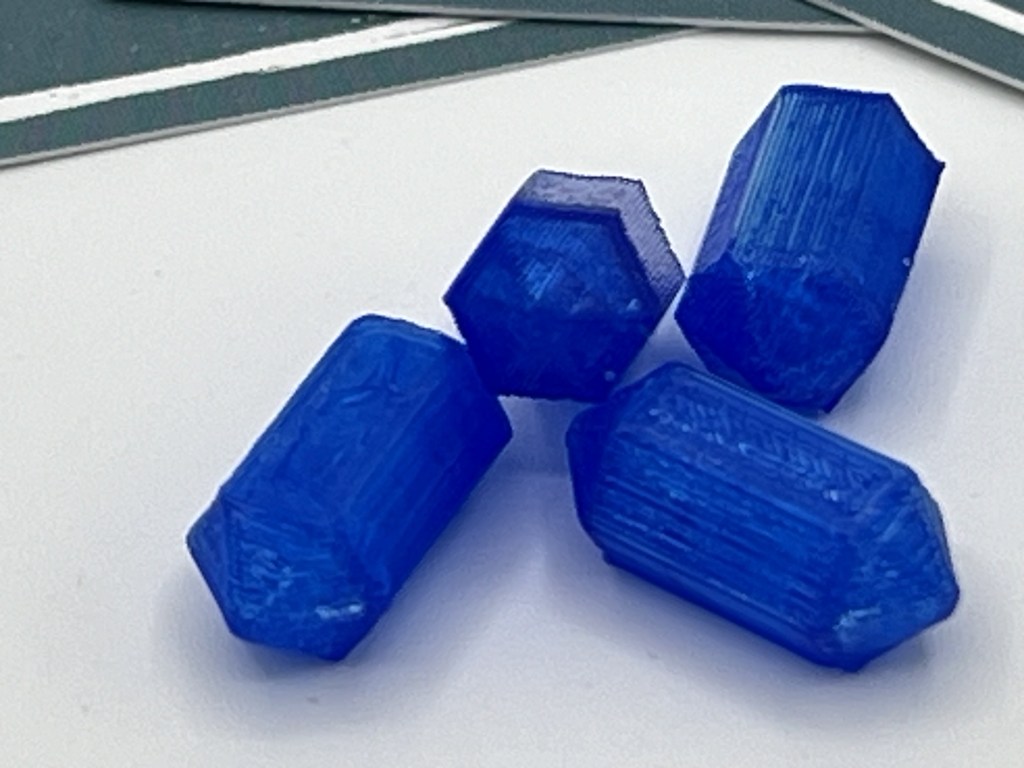
I liked the end result, but it didn’t look enough like the game tokens, so I added a draft angle to the extrusion to create an asymmetrical version. The model was great, but I ran into a couple problems printing them. Because the top surface was now angled, printing with 0.2 mm layer height resulted in very visible ridgelines.

Notice the ridges on the top of each crystal. In the grand scheme of things, this is minor, but I wanted to make it better, so I reduced the layer height to 0.15 mm and tried again. The result was several more smaller ridges, but the thinner brought its own challenges.
After reducing the layer height, I had adhesion issues and a number of failed batches. To start, I was only printing four at a time, so the failures happened pretty quickly and I was able to adjust the temperature settings of the hot end and the print bed. Eventually I was able to dial in settings that worked and printed two batches.
One possible fix, which I do not think is worth it is to do some post processing, either sanding or using a small modeling iron to smooth the ridges flat.
As before, I asked for my son’s input. In the end he preferred the original crystal shape because he can stack them better, which wasn’t a design requirement I had even considered. Both versions are available for download.
Conclusions and testing
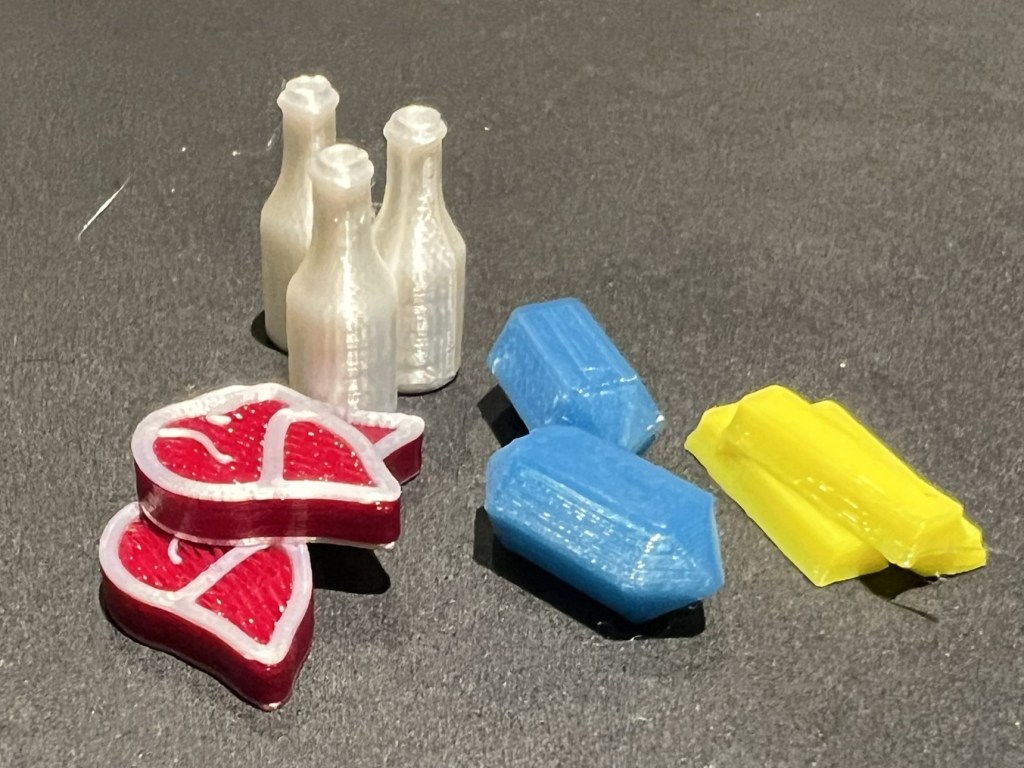
With multiple iterations I was able to take my original designs and evolve them into something I was very happy with and excited to share. I have shown several friends and the internet the designs and gotten numerous compliments, but the real test came when we played Wyrmspan with the resources.
My wife and our friend Steph played Wyrmspan one evening and we used the resources I had designed and printed. It was my second game and their first. I asked them for feedback (critical and complimentary) and they said they enhanced the game play over the cardboard tokens that come with the game. They felt the size was good, easy to pick up, reasonable for caching on dragons or having in supply and felt good in the hand. They noticed and appreciated the appearance of the milk bottles with the clear top. My wife was initially confused by the crystal symbols on the dragon cards because they were purple. The other comment was that the picture of the gold bar on the cards looked more like a stick of butter than a gold bar.
What do you think, is that two sticks of butter or bars of gold?
The 3d meshes (.stl) files are available for download from Better Wyrmspan Resources by EcoDad | Download free STL model | Printables.com.
If you like what I created, plus give it a like and download the models.
I’d love to hear your comments, suggestions, critiques and suggestions for what game pieces to work on next.

Leave a comment